How to Get Mold Off a Washer Door Gasket, Step by Step
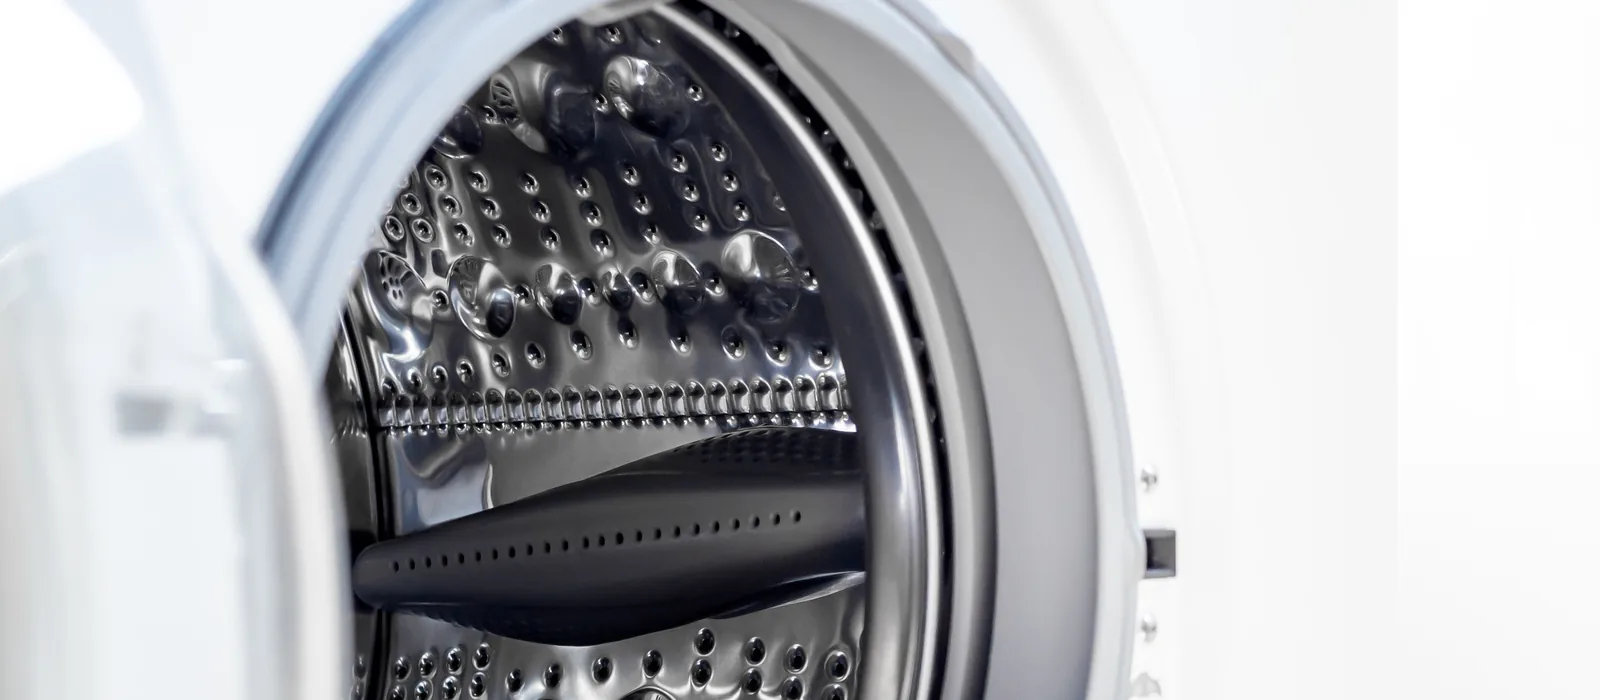
Almost everybody cleans the wrong part of this. You open the door, you see black speckling along the rubber lip, you scrub the lip, and for about three weeks it looks solved. Then it is back, and the usual conclusion is that the cleaner was weak.
The cleaner was probably fine. The lip you scrubbed is the visible edge of a folded rubber boot, and tucked inside that fold is a channel that holds standing water after every single cycle. That channel is dark, warm and permanently wet, which is as close to ideal growing conditions as anything in your house. The speckling on the lip is not the colony. It is the part of the colony that grew far enough out to be seen.
Top-loaders largely dodge this, which is why the problem tracks the shift to front-loaders. The door seals horizontally against a rubber boot, water pools in the bottom of that boot after every cycle, and a closed door turns the drum into a warm dark humidity chamber.
Decide which product you need first
This job splits two ways and buying the wrong side of the split is the expensive mistake.
Light speckling on the visible lip, nothing in the fold. Use a spray. Owners of the 30 SECONDS Pro report clearing washer gaskets in about ten minutes, and at $0.53 per fluid ounce you are not rationing it. Do not buy a gel for this.
Established black staining down inside the fold. Use a gel. A spray cannot stay in a folded rubber channel long enough to matter, and the fold is exactly the geometry gel was made for. Any of the three gels we cover works here; APULITO gives you the most product to be generous with.
What you need
- A mold gel, plus a cheap nylon brush you are willing to throw away. None of the gels we currently cover ships with a brush, whatever other roundups tell you, and an old toothbrush is fine.
- Rubber gloves and a couple of old cloths or a roll of paper towels you can bin.
- Ventilation, and more of it than you think. Laundry rooms are often interior spaces with no window, and unlike a bathroom job you will have your head and shoulders physically inside the drum for several minutes. If the room has no window, work with the door open and a fan pointed out of it.
Read the bleach safety basics first, especially the part about never mixing products. A washer drum can hold residue of whatever you ran through it last, and oxygen bleach or ammonia-based cleaners left in there are a genuine hazard when chlorine bleach arrives.
The method
- Empty hot cycle before you clean anything. Use the sanitize or tub-clean setting if the machine has one, otherwise the hottest wash available. The point is not to kill anything; it is to flush the soft detergent sludge out of the channel. Skip this and your gel spends its first two hours dissolving soap scum instead of reaching the stain underneath it, which is a slow way to waste half a bottle.
- Dry it completely, fold included. Every gel label says to apply to a dry surface and it is the instruction people most often skip, because the machine has just run and the rubber is soaked. Wet rubber thins the gel at the contact face and it slides out of the channel within the hour. Towel it, then give it ten minutes with the door open.
- Open the fold and look inside before you apply anything. Hook a finger under the inner lip and roll it toward you. What is in there is usually worse than what was on the face, sometimes considerably, and it is worth seeing because it is the whole explanation for why this keeps recurring. Note where the standing water sits, normally at the bottom of the circle; that is where you will be most generous.
- Brush gel onto every stained surface. Work it into the fold, all the way around, and onto the visible lip. Be generous on the black patches; thin gel dries at the edges and underperforms, which is the single most common self-inflicted failure in this category. Keep gel off the drum's metal face as much as is practical.
- Four to eight hours, door wedged open. Overnight works well because nobody needs the machine. Leaving the door open is not optional here in the way it is elsewhere: a closed drum is a sealed chlorine chamber, and the person who opens it next gets the whole dose in the face at head height.
- Wipe out thoroughly, then rinse. Remove all visible gel with paper towels first, then a damp cloth, then run another empty hot cycle to flush residue before the next load of clothes. Do not skip that cycle. Bleach residue and a load of colored laundry is an expensive combination.
Heavy old staining sometimes needs a second round. If the rubber itself has degraded, gone rough, cracked, or turned permanently grey through the material rather than on it, gel has taken it as far as it goes. Replacement boots for most machines run about $30 to $90 depending on brand, and fitting one is within reach of a confident DIYer with a video, a screwdriver and patience with the spring clamp.
The five habits that make this a one-time job
Everything above treats a symptom. The gasket grew mold because it holds water in the dark, and none of the cleaning changes that. Change these and you will not be back here next spring:
- Stop closing the door. If you do exactly one thing from this list, do this one. A shut front-loader is an airtight box with a puddle in it, and it stays humid until the next wash tops it up. Manufacturers know this, which is why newer machines ship with a door prop or a magnetic catch.
- The dispenser drawer is habitat number two. Leave it cracked open as well, and every month or so pull the whole drawer out, which on most machines is a release catch and a firm tug, and wash the housing behind it. That cavity is rarely inspected and frequently the source of a smell people blame on the gasket.
- Ten seconds with the towel you just unloaded. Run it around the fold after the day's last wash. It costs nothing, it uses a towel already destined for the hamper, and it removes the water the whole problem depends on.
- Give it heat sometimes. Cold washing is better for fabric and cheaper to run, and a machine that only ever sees cold water never reaches a temperature that kills anything living in it. One hot load a week, towels or sheets, or the tub-clean cycle monthly, resets that without giving up cold washing generally.
- Use less detergent, especially HE detergent. Overdosing leaves a residue film in the gasket channel that mold feeds on, and most people use several times the amount a front-loader needs.
- Unload it when it finishes. A finished load left overnight is eight more hours of saturated air against the rubber, which is roughly the same exposure as the cleaning dwell you just did, working in the opposite direction.
Every one of those habits is the same principle at appliance scale: mold needs a surface to stay wet, so stop letting surfaces stay wet. The room-scale version of the identical argument, for bathrooms, walls and windows, is in the prevention guide.
Check APULITO gel price on Amazon Back to the full roundup